Claude Desktop Integration
You can now use viaSocket MCP directly with Claude Desktop by Anthropic. This lets Claude Desktop perform real-world tasks, like sending messages or creating events, through a simple and secure connection, expanding its capabilities beyond just conversations.
Quick Start
Three simple steps to get started with Claude Desktop and AI Actions:
Copy your unique MCP server URL into the viaSocket MCP.
Choose and configure the actions you want Claude Desktop to access.
Configure Claude Desktop with your MCP URL (see instructions below).
1. Go to viaSocket and log in
Create your workspace and open the MCP Server section.
2. Click Create New and then Generate Secure URL
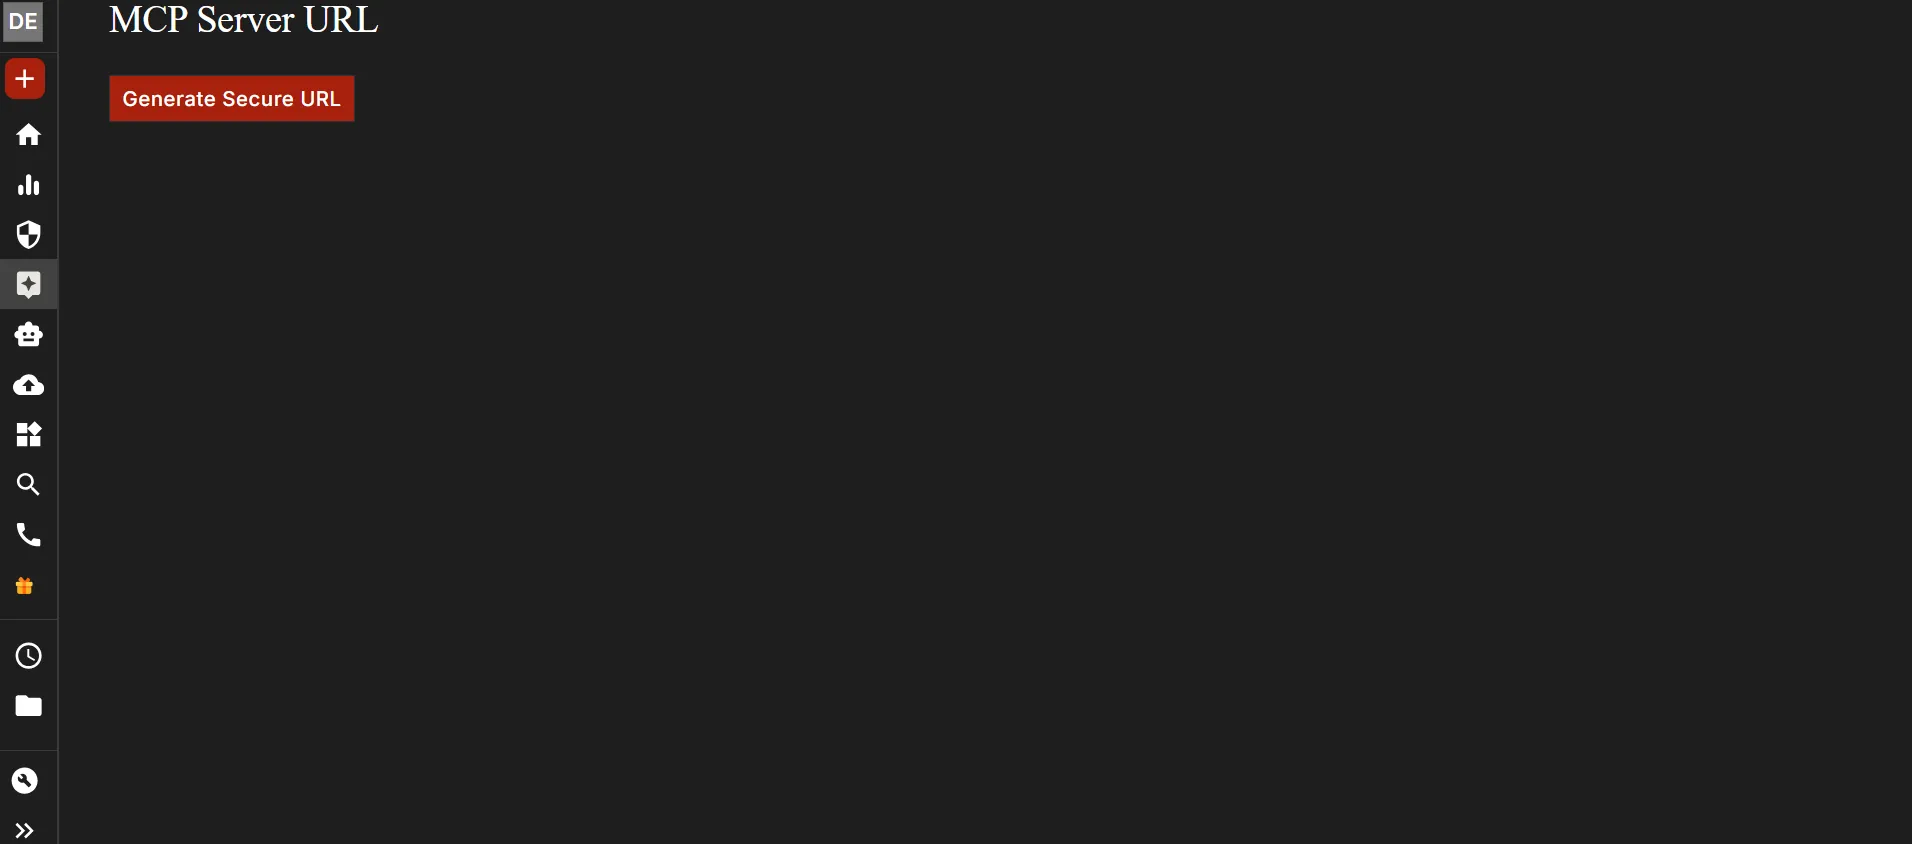
This will generate your unique MCP URL.
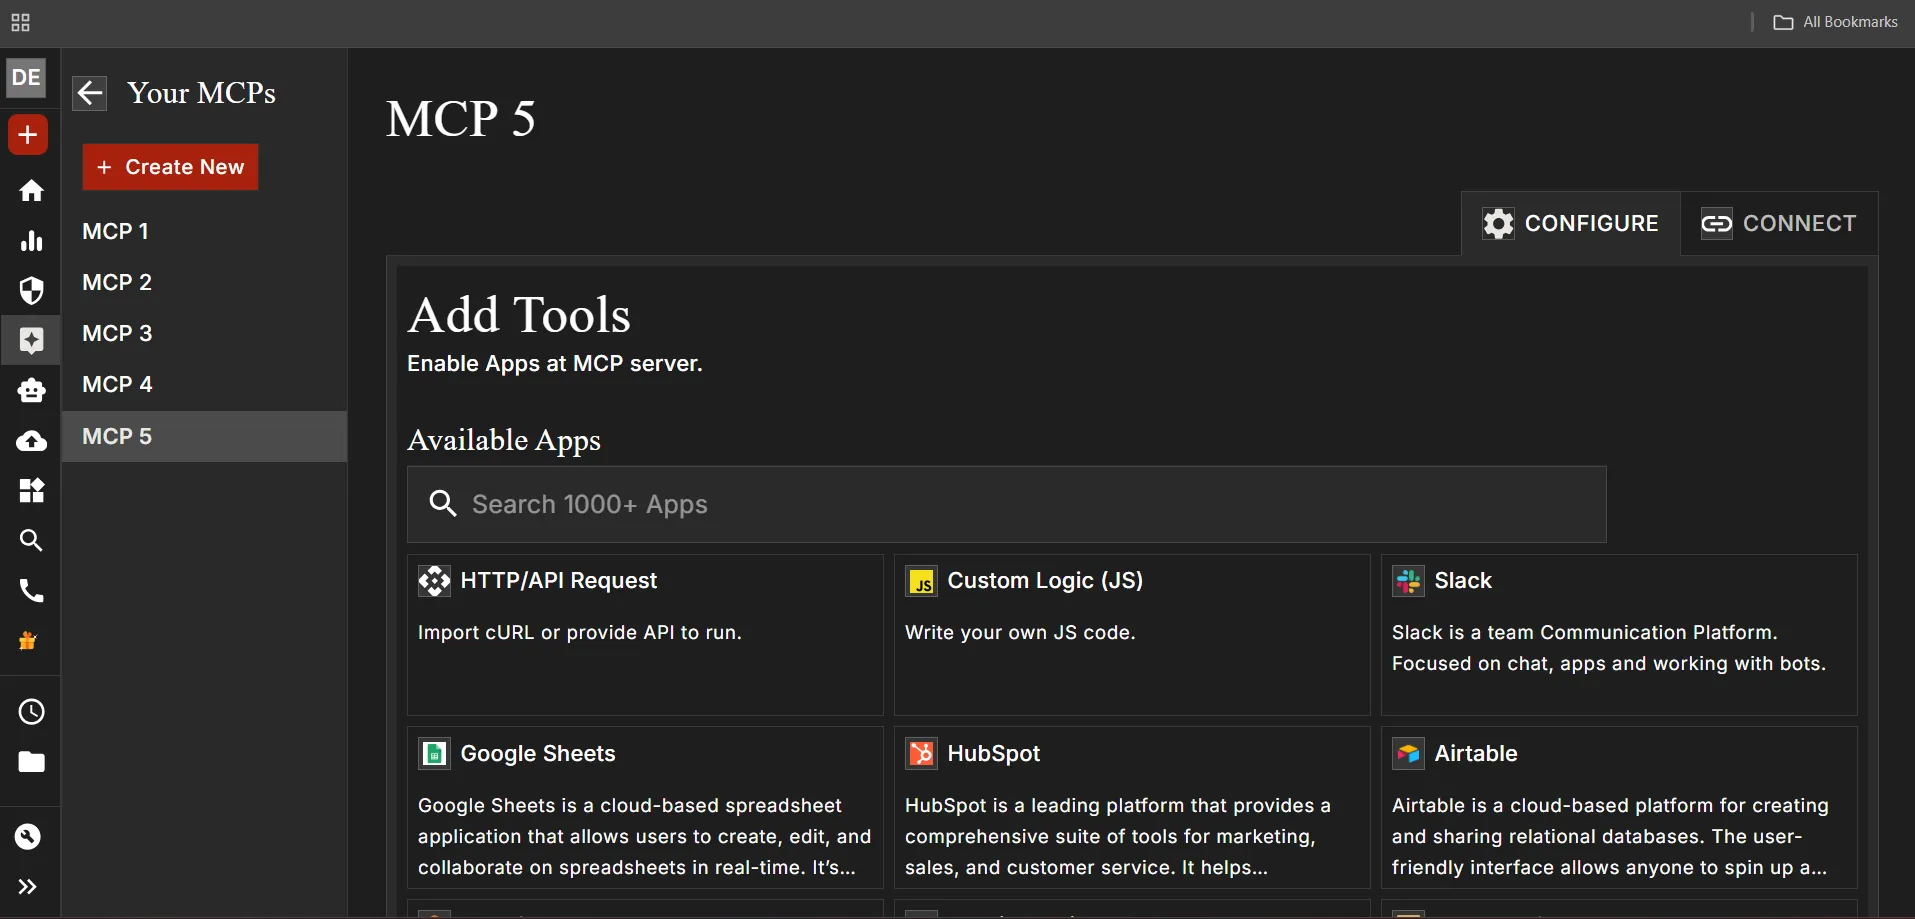
3. Add Tools
Choose the tools you want (Slack, Google Sheets, Gmail, etc.) to create your MCP workflows.
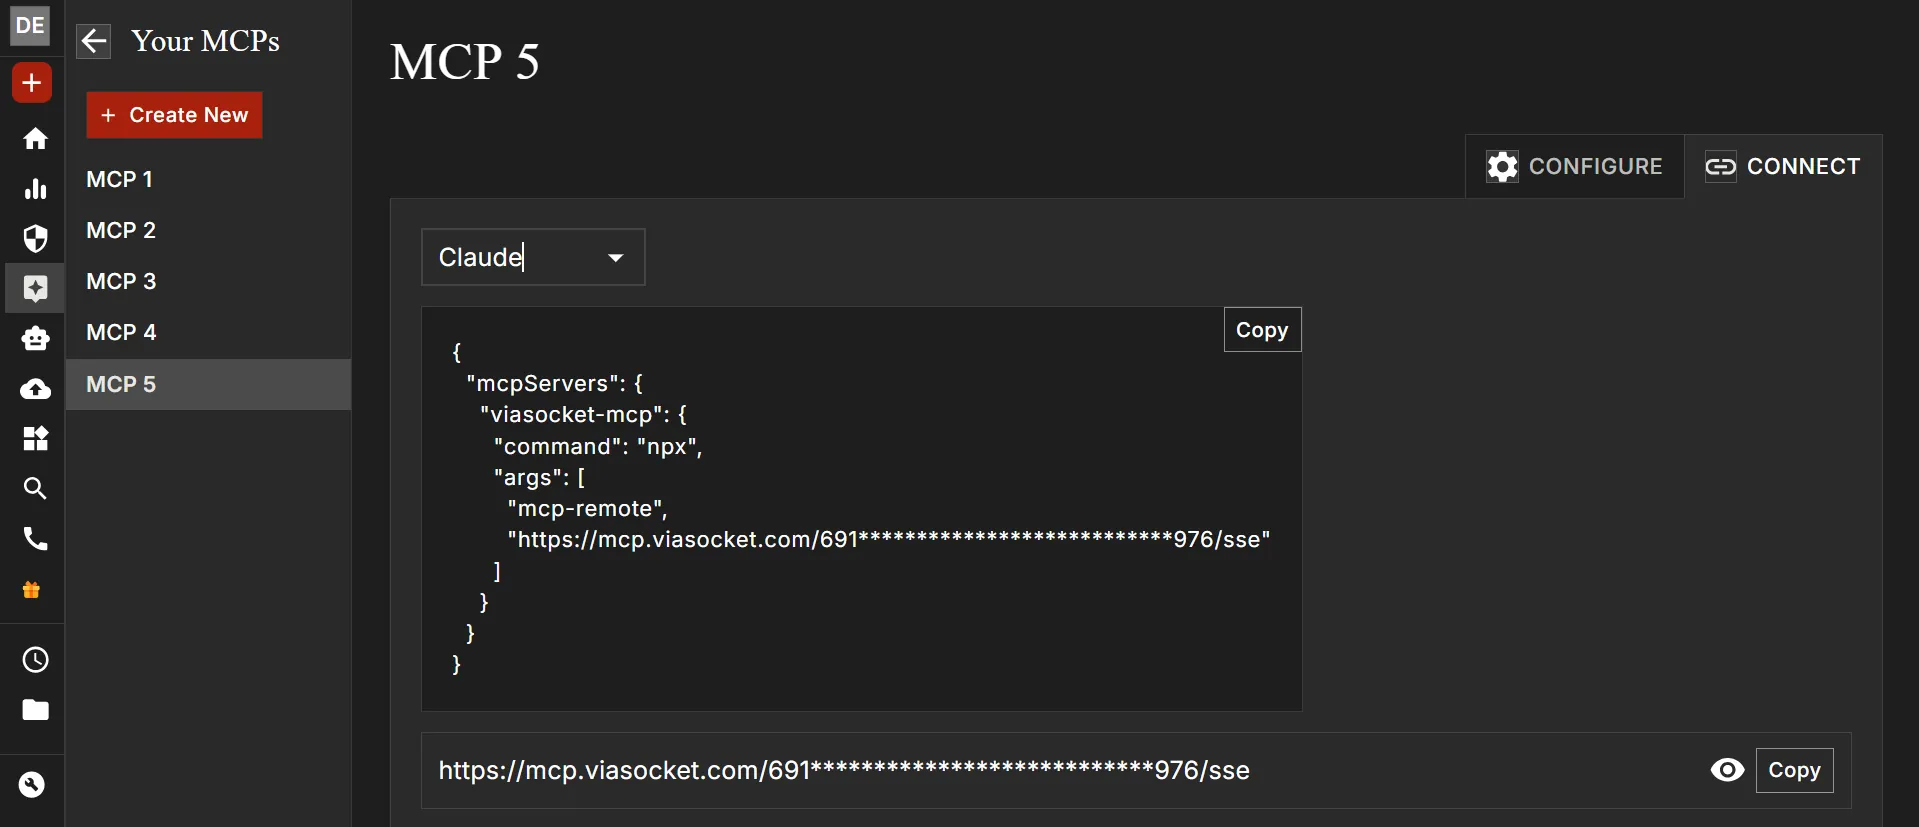
4. Select Your Tool → Add Credentials → Copy MCP URL
After connecting your selected tool, open the Connect tab. Complete any required credentials and then copy your MCP URL.
5. Download Claude Desktop
Install Claude on your computer.
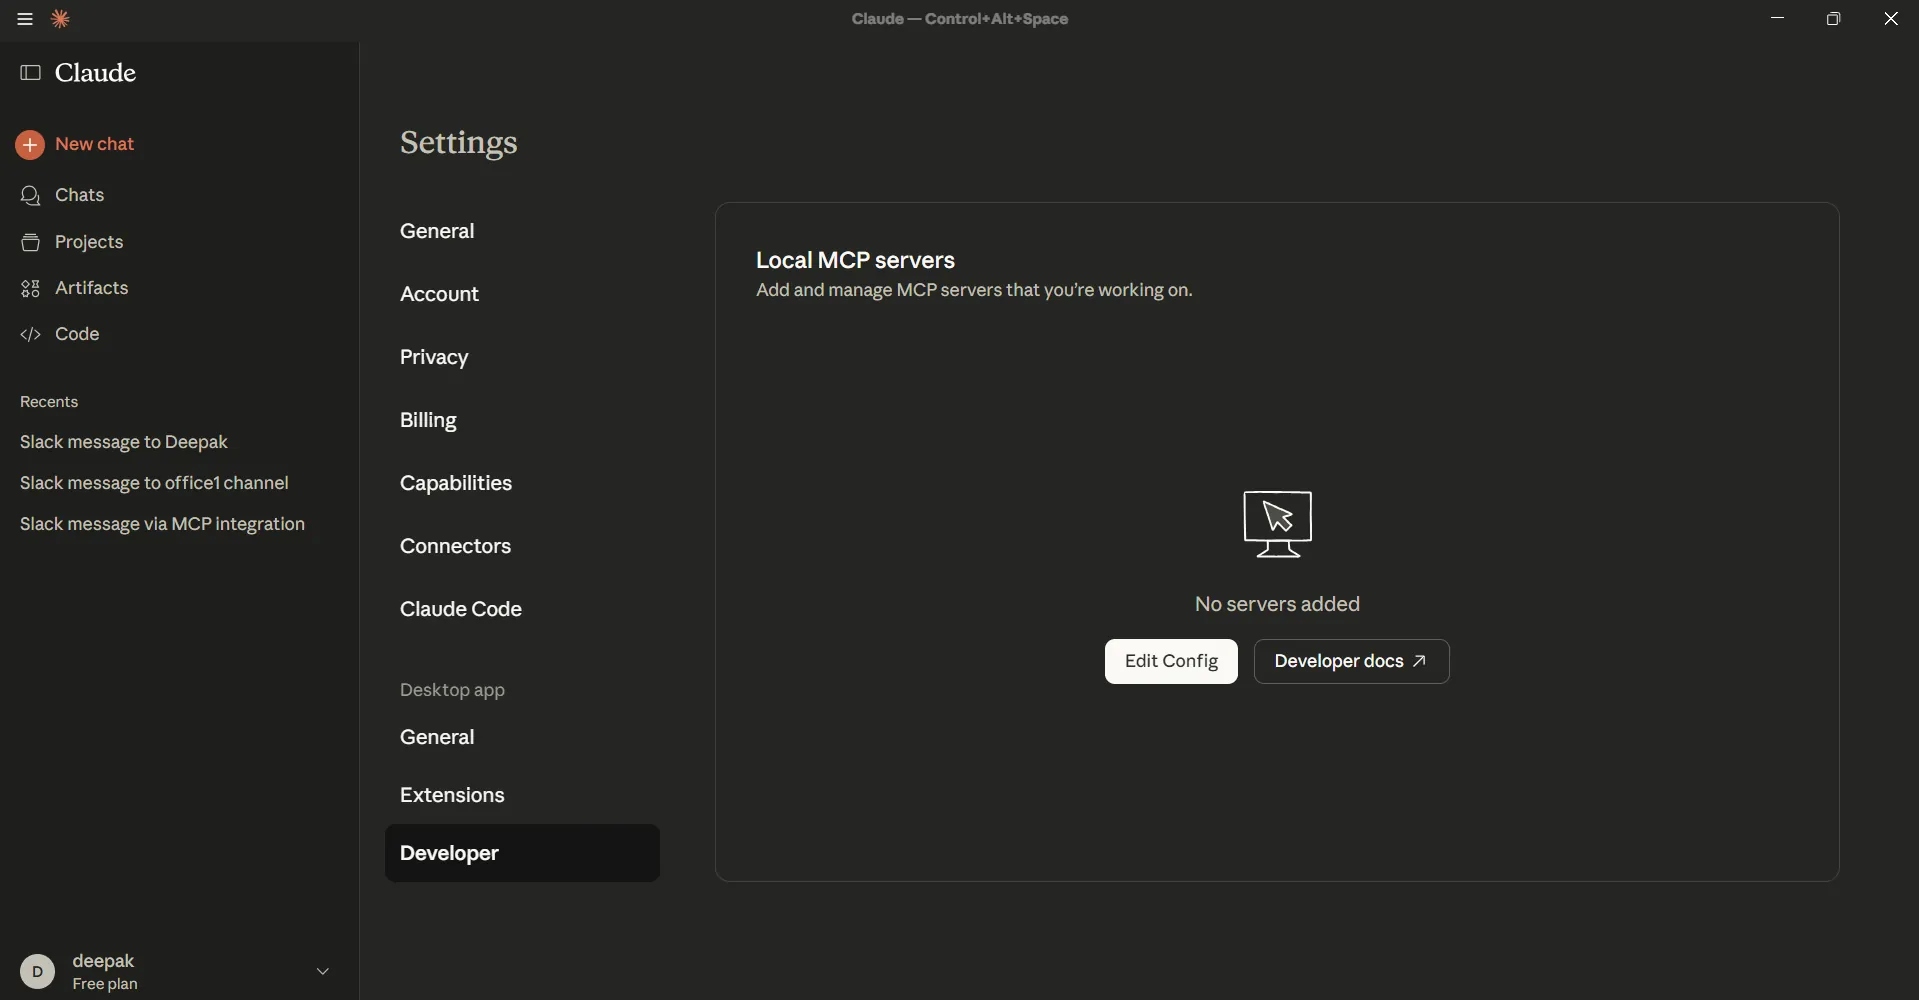
6. Open Claude → Settings → Developer
Click Edit Config.
7. Paste MCP Config
Paste your MCP JSON config with your MCP URL.
8. Restart Claude Desktop
Press Ctrl + Shift + Esc, restart Claude.
9. Open Claude again

Now you will see viaSocket MCP enabled.
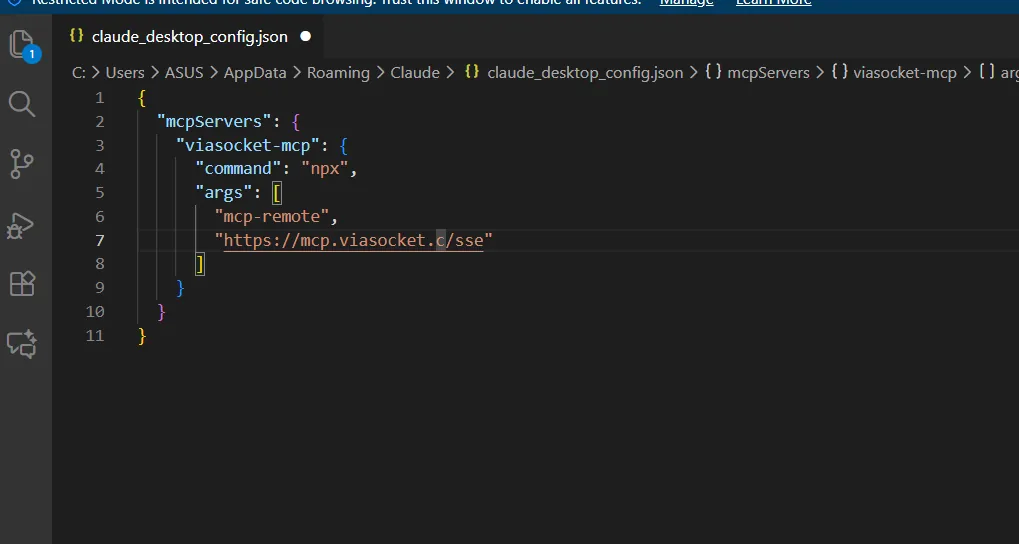
Configuring viaSocket MCP in Claude Desktop
Include the following JSON configuration in claude_desktop_config.json, replacing the placeholder URL with your actual MCP URL from the MCP settings:
{
  "mcpServers": {
    "viasocket-mcp": {
      "command": "npx",
      "args": [
        "mcp-remote",
        "https://mcp.viasocket.com/************/sse"
      ]
    }
  }
}