1663832908583941.png)
MSG91 Plugin for WooCommerce
The MSG91 plugin for WooCommerce allows you to send automated messages via WhatsApp, SMS, RCS, Email, or Voice for all order-related events in your WooCommerce store.
Supported WooCommerce Events
You can configure the plugin to send messages for the following events:
New Customer
Update Customer
New Order Payment Complete
Order Status: Completed
Order Status: Cancelled
Order Status: Refunded
Order Status: Failed
Add to Cart
Removed Cart Item
Checkout Order Processed
Steps to Follow on MSG91
1. Sign Up
If you don’t already have a MSG91 account, sign up here.
2. Create Message Templates
Create message templates under the specific service (WhatsApp, SMS, Email, RCS, or Voice) you want to use.
Each WooCommerce event can have its own message template.
Useful Links:
3. Create a Campaign
After your templates are ready, create a campaign in MSG91.
Refer to this guide: How to Create a Campaign on MSG91
About Campaigns
A campaign is like sending a pre-approved template.
You can create:
Single-channel campaigns (e.g., only SMS or only WhatsApp).
Multi-channel campaigns (send messages across multiple services).
Campaigns support filters and conditions for better targeting.
They can be triggered for single or bulk contacts.
On WooCommerce, every time a relevant event is triggered (e.g., order placed, order cancelled), the corresponding MSG91 campaign will launch automatically on the particular contact.
Steps to Follow on WordPress
1. Ensure WooCommerce is Installed
Log in to your WordPress admin dashboard and ensure that WooCommerce is already installed and activated.
2. Install MSG91 Plugin
Go to Plugins > Add New
Search for "MSG91" >> Install the plugin

Note: If you don’t find the plugin, you can request the plugin file from our Support team and upload it manually.
3. Submit the Form
Click on MSG91 in the left sidebar of your WordPress dashboard
Fill out the form:
Enter your mobile number (with country code, without '+'. Example: 918818888733)
Click Get OTP → Enter the OTP → Verify OTP → Click Submit.


4. Add MSG91 Authkey
Click on Settings under MSG91 in the sidebar.
Enter your Authkey. (How to get your Authkey)
IP Security Note:
Ensure the shown IP is whitelisted in MSG91.
If not using IP whitelisting, disable IP security (not recommended).
Select your default country
Click Save
A confirmation will appear once the Authkey is successfully added.

5. Create Automation
Go to MSG91 > Automations, then click Create Automation.
A side panel will appear:
Enter a name for the automation.
Select the MSG91 campaign you want to trigger.
Choose the relevant WooCommerce event for which you want to launch the campaign.
Map Contact Information: Select the customer’s mobile number or email field from WooCommerce on which the campaign should be triggered.
Map Template Variables: Match the variables in your MSG91 template with dynamic values from WooCommerce (e.g., customer name, order ID, total amount, etc.).
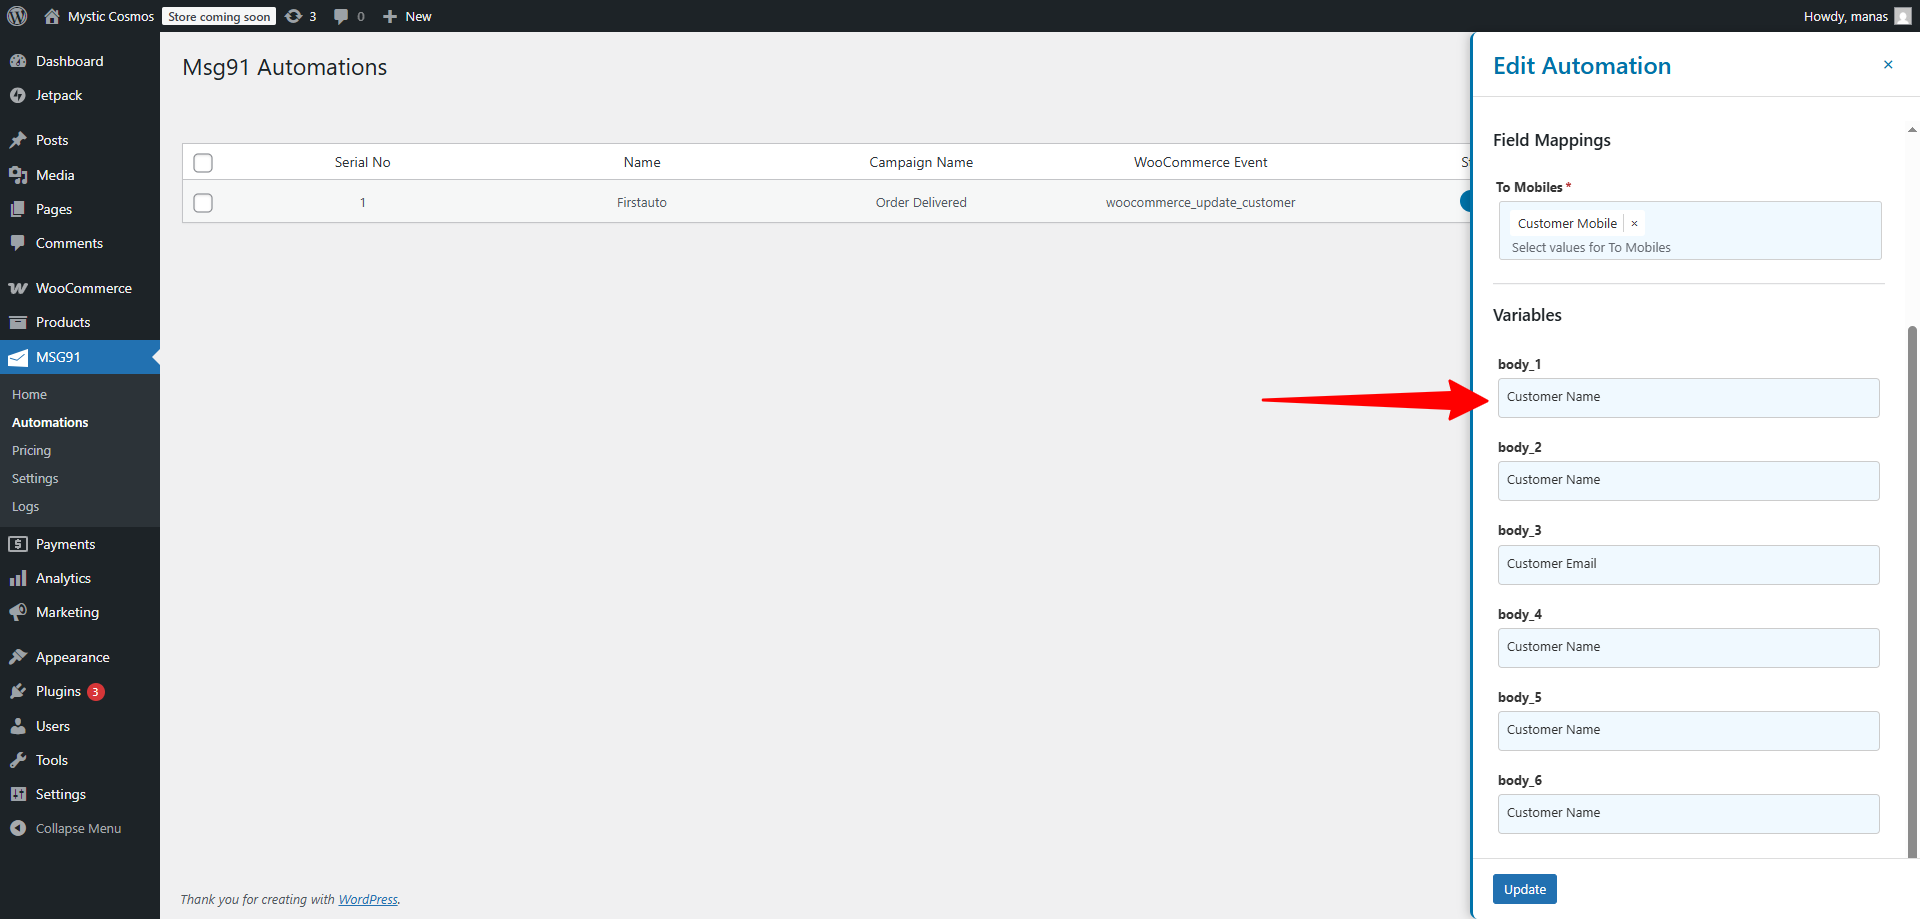
Click Create to save the automation.


You can repeat this process for every WooCommerce event. Once an event occurs, the assigned campaign will be triggered automatically.
Additional Sections
Pricing
View our current rates in the Pricing section under the MSG91 plugin.

Settings
To change your MSG91 account or authentication key, go to the Settings section in the plugin.

Logs
Error Logs: Displays any errors encountered with the MSG91 plugin.
Trigger Logs: Shows successful campaign triggers for WooCommerce events.

Save Logs: It downloads error logs that are visible on the dashboard; you can share the downloaded file and use it for debugging purposes.

If you still have any questions or are facing an issue, feel free to contact us at +91 8818888733 via WhatsApp or call, or via Email at support@msg91.com.